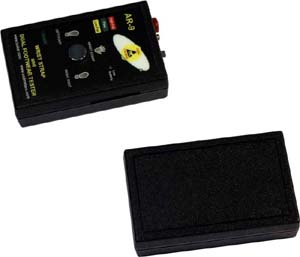
| 1. Place AR-9 meter and the calibrator on the
table. |
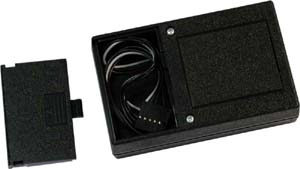
2. Open the cover on the back site of the
calibrator. |
 |
 |
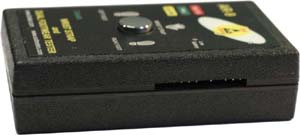
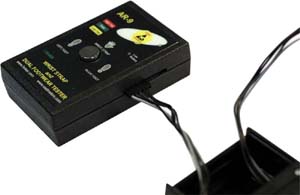
| 3. Connect the cable from the Calibrator into a
connector in AR-9 meter (see the picture below). |
 |
 |
| 4. Connect the second cable into AR-9 side
connector (as shown below) |
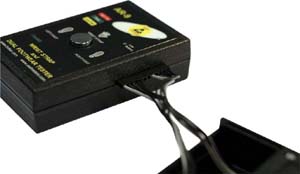 |
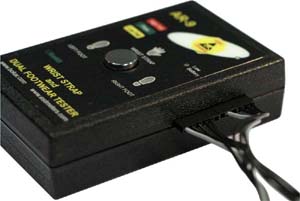 |
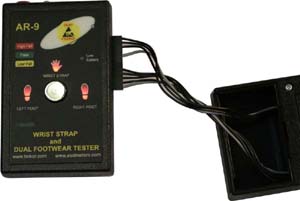
| 5. AR-9 connected with calibrator should look like on the
picture below: |
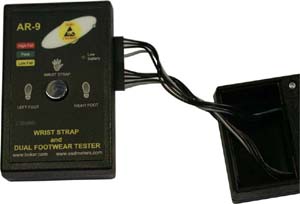 |
|
- Press and hold round button in the center of AR-9 meter.
- Release button after you hear a single ton.If you press and
release the center button momentarily, AR-9 will begin test cycle,
and not the calibration cycle.If the meter indicates low battery,
please replace the battery.
- When the center button is released after the single tone is
heard, the meter starts calibration cycle.If the meter does not start
calibration procedure, please check the battery and connection
between calibrator and AR-9).
- The calibration procedure lasts few seconds.
- After the calibration the meter starts test procedure.
- For a next 5 seconds the footwear LEDs on the AR-9 meter are
blinking.
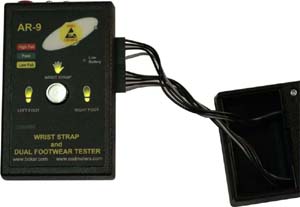
- When the test if finished, one should hear a ton and see
test status displayed by LEDs.
|
Test passed
(green lights) |
Test failed
(red lights) |
 |
 |


